
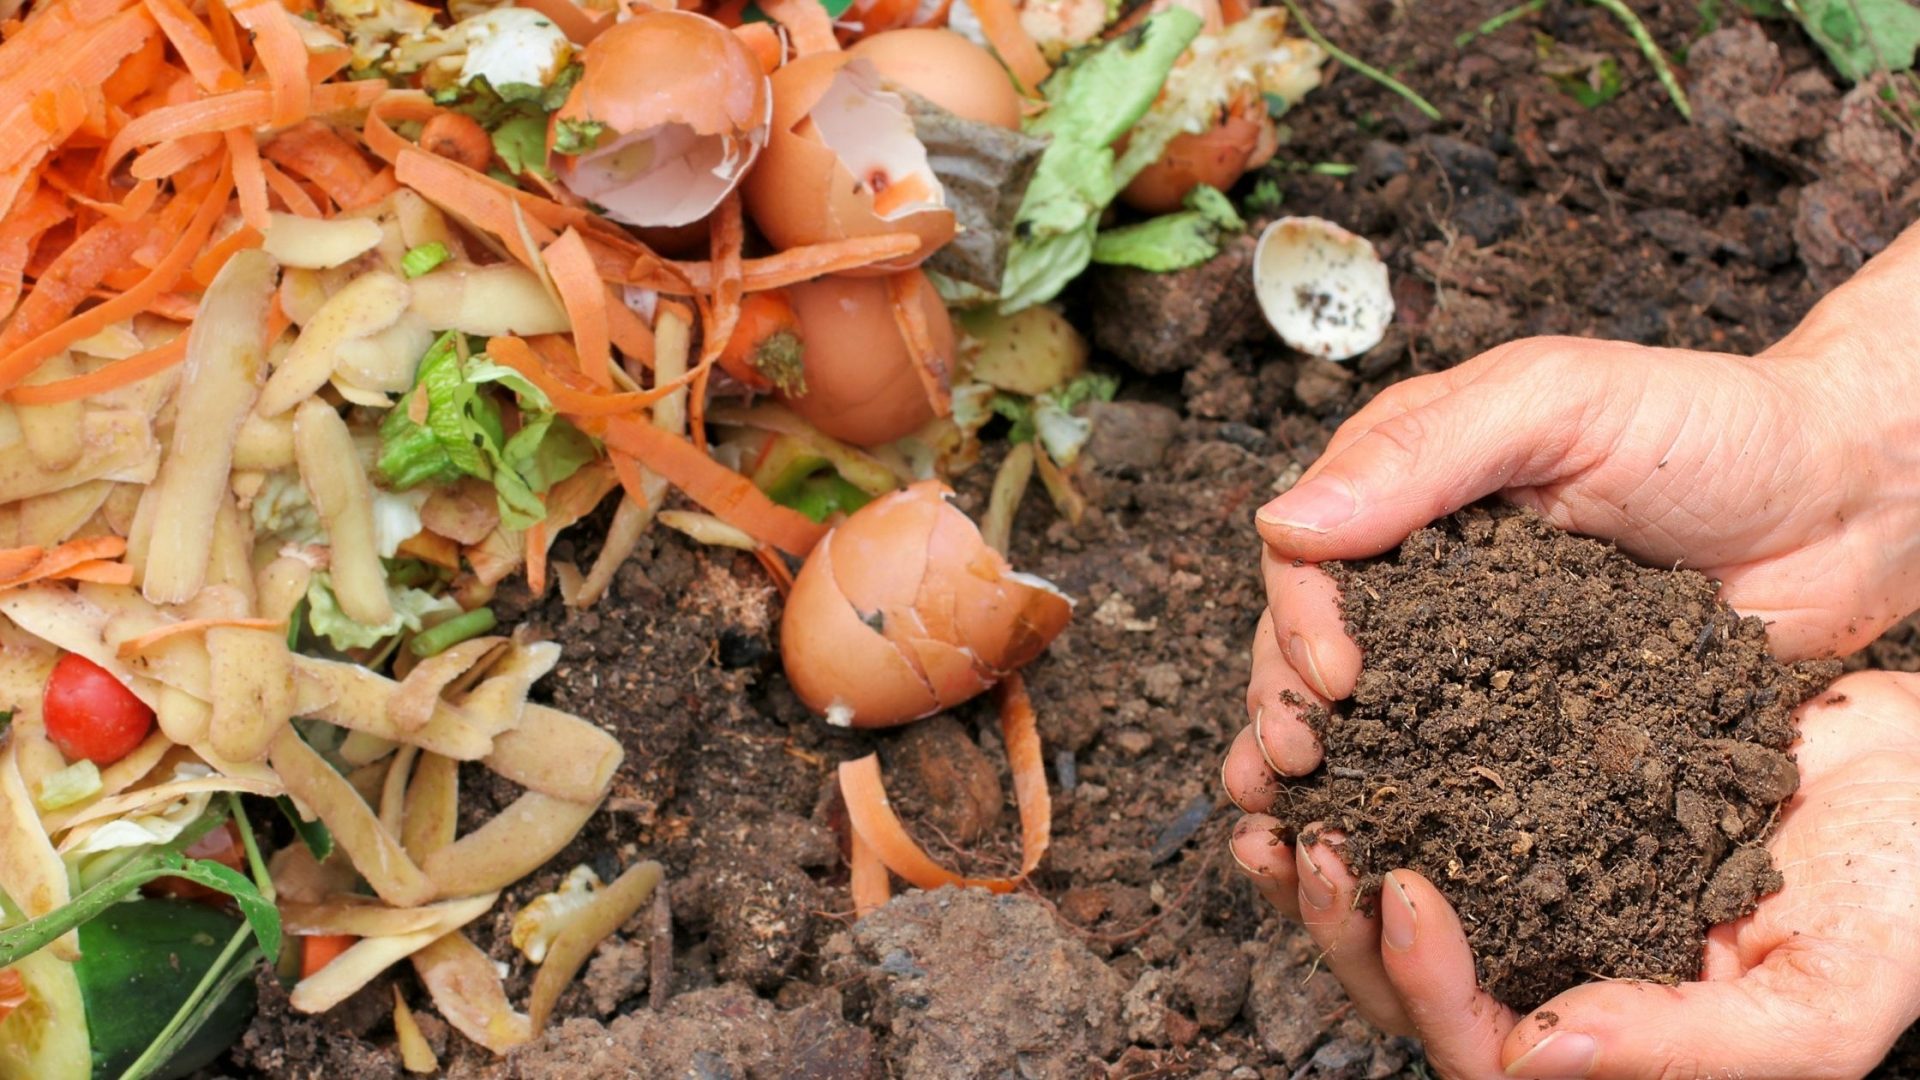
If you think composting is as simple as throwing banana peels and coffee grounds into a stinky container on the kitchen counter and eventually tossing it into a pile in the backyard… you’re only half right. It turns out there are two methods for turning your food waste and yard scraps into valuable fertilizer, and many backyard composters have missed the memo on how to do them most effectively.
Avid composters have strong opinions about what you should (or shouldn’t) add to your compost heap; certain corners of the internet are filled with people fighting about the proper carbon-to-nitrogen ratios we should be trying to achieve. I had no idea that there was so much science involved, or that this particular brand of nerdishness even existed.
Of course, we’re not saying you can’t continue to compost in the laziest way possible. Not everyone has the time or energy to commit toward building the best “compost lasagna.” But if you want to optimize your efforts, or are just starting on your compost journey, here’s what the experts have to say.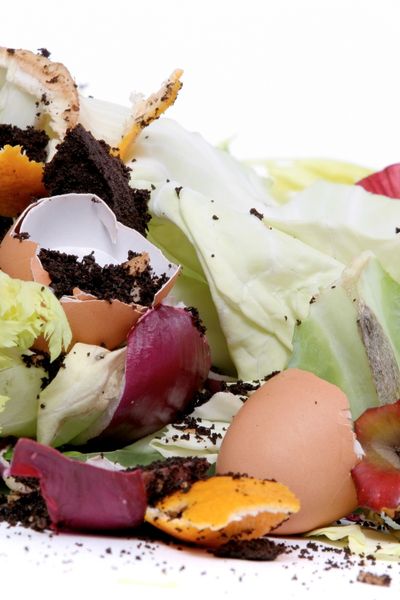
Why You Should Be Composting (If You Aren’t Already)
If you have a garden, composting is an easy way to turn your food scraps and yard waste into valuable fertilizer that can improve soil health, lessen erosion and increase water retention. (And if the cyclospora outbreak this summer taught us anything, it’s that growing your own produce can be a source of personal pride and self-preservation!)
Even if you don’t have much use for the nutrient-rich “black gold” composting produces, the practice reduces the significant burden of food waste on the environment.
According to the Environmental Protection Agency (EPA), food is the single most common material sent to landfills, comprising 24.1% of municipal solid waste. When yard trimmings, wood and paper/paperboard are added to food, these organic materials comprise 51.4% of municipal solid waste in landfills. As the Natural Resource Defense Council (NRDC) explains, when this compostable waste goes to a landfill, it gets buried under massive amounts of other trash, cutting off a regular supply of oxygen for organisms that assist in the decomposition process (like bacteria, fungi, worms, sow bugs and nematodes). The waste then undergoes anaerobic decomposition, which produces methane and carbon dioxide in mass quantities as a byproduct.
Temperatures Matter
There are essentially two main types of backyard composting: Cold/passive, which involves mostly anaerobic decomposition; and hot/active, whose aerobic (oxygen-assisted) decomposition process produces heat.
Most laypeople won’t have strong opinions on which type of composting is “better,” but here’s what you need to know about the differences.
Cold Composting
Many backyard composters tend to engage in the “cold” variation. Cold composting breaks down organic matter slowly (think 1-2 years), but it takes the least amount of effort and maintenance. You don’t really need to worry about the ratio of compost ingredients, aerate the pile regularly, or monitor the moisture levels.
While this method is best for people who don’t generate that much organic waste, or simply don’t have much time to commit to the process, the cold method does have some downsides. The NRDC explains that the cold composting process will most likely fail to reach a high enough temperature during decomposition to kill off pathogens; depending on what you’ve put on the pile, some harmful pathogenic bacteria, fungi, protozoa, worms and — perhaps worse — weed seeds may linger in your finished product. (As Gregory Moore, senior research associate at the School of Agriculture, Food, and Ecosystem Sciences at the University of Melbourne, lamented, cold composting done poorly is just getting very good at spreading well-fed weeds.)
Additionally, because the cold composting process is primarily anaerobic — meaning your discards are broken down by microorganisms that thrive in an oxygen-deprived environment — cold piles may be smellier or wetter than hot piles. (This is more true the lazier you are; Moore’s Five Top Tips for the Perfect Compost According to Science emphasizes that by providing enough oxygen, even a cold compost heap can reach the temperatures necessary to be clean and effective.)
Hot Composting
Hot composting is a faster but more managed compost process usually done in one big batch instead of as-you-go. (YouTube has tons of how-to tutorials, but my favorite is the adorably awkward one from the UC Master Gardeners of Sacramento County.) This method demands closer adherence to the 2 parts carbon:1 part nitrogen ratio that optimizes the decomposition process. It also requires the right balance of air and water to attract the “decomposer” organisms that thrive in oxygen-rich environments. You can achieve this by turning the pile regularly and keeping it moist but not wet; an oft-repeated description of the right moisture level is that it should be “similar to the feeling of a wrung-out sponge.” (Have fun reaching your bare hands into the muck to gauge this yourself.)
You’ll need to get a compost thermometer in order to ensure your pile is at the right temperature, which will be proof that the aerobic process is happening. Compost Magazine (where do I subscribe?!) says that the three phases of aerobic composting occur between 80 – 130℉.
Under ideal conditions, you could have the final compost product in as soon as a few weeks, sans weeds, bug larvae or eggs, plant diseases, pesticides, and herbicides.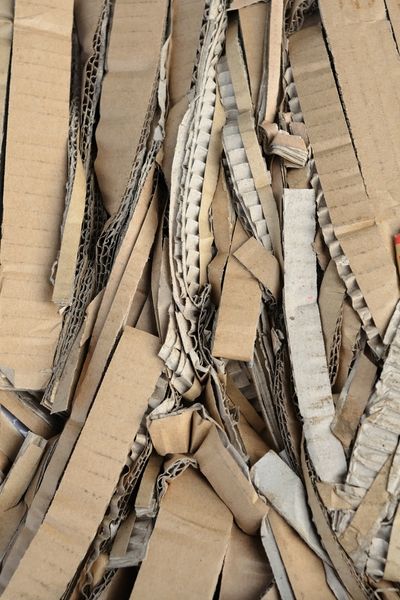
Compost Ingredients
Regardless of which composting method you’re doing, you still want to aim for roughly a 2:1 balance between your carbon-rich materials (“browns”) and nitrogen-rich materials (“greens”).
According to the EPA, you should be adding the following ingredients to your backyard compost:
“Greens” (Nitrogen-Rich Materials)
- Fruit and vegetable scraps
- Grass clippings
- Coffee grounds and paper filters
- Paper tea bags (no staples)
- Eggshells (crushed)
“Browns” (Carbon-Rich Materials)
- Dry leaves
- Plant stalks and twigs
- Shredded paper (non-glossy, uncolored) and shredded brown bags
- Shredded cardboard (no wax coating, tape or glue)
- Untreated wood chips
Avoid adding materials such as meat, fish, and bones, cheese and dairy products, fats and oils, and cooked foods, because they’re more likely to attract animals — and most cold compost piles won’t get hot enough to fully decompose them. Likewise, avoid adding aggressive weeds, disease- or pest-infested plants, treated or painted wood, pet waste, or dryer lint.
Building Your Compost Pile
Again, certain people will feel strongly about the different techniques you could use to build a compost pile. But for the most part, you will want the pile to be easily accessible year-round, be within reach of a hose and have good drainage. You could use a compost tumbler, a bin made of wire, wood or cinder blocks; alternatively, with ample space, you can just spread it “wide, long and low” as Moore advises, which ensures a high surface area-to-volume ratio.
The EPA recommends starting your pile with a 4- to 6-inch layer of bulky browns like twigs and wood chips to help absorb extra liquids while allowing air to circulate. Then, if doing hot composting, layer your greens and browns like a food/yard waste lasagna, finishing with an ample (4 to 8 inch) layer of browns on top. If necessary, add water as you go to make sure everything is properly damp.
Compost Maintenance
All organic matter will eventually decompose, so even the most neglected compost heap will render some black gold, given enough time. However, a few simple steps will help your compost break down more efficiently, reducing odors and giving you a finished product sooner:
- The smaller the item, the faster it will break down, so try to shred or chop any food waste before composting.
- Turning and mixing your pile from time to time will aerate everything, helping speed up the decomposition process.
- Keep the pile damp; if the pile gets too dry, the decomposition process will slow or cease altogether.
- If the compost pile is really stinky, it’s either too wet or needs more air circulation. The EPA recommends adding brown materials and turning the pile to reduce odors.
Harvesting Your Compost
Compost is “done” when it looks dark, loose and crumbly, and smells like fresh soil. You’ll know your pile is ready when it no longer heats up after mixing, and when there aren’t any visible food scraps. Once it reaches this stage, you should allow your pile to “cure” for a few weeks, during which time the pile will shrink to about one-third of its original size.
If you’re cold composting, you might find that the “finished” compost is sitting as a layer at the bottom of the pile. The EPA suggests that you simply move this portion somewhere else to cure so you can continue adding materials to your pile.
Finally, screen or sift your finished compost to filter out materials that didn’t break down, such as twigs, fruit pits, eggshells, and errant produce stickers or plastic. The organic materials can be added to a new pile or added back into the active pile.
Top image: melGreenFR from pixabay, via Canva.com
More Articles You May Enjoy: